Quote:
Originally Posted by aselwyn1

Is there a list of the pictures that you need?
|
Shot: Seal Shot
Example:
 When to use:
 ALWAYS (if you can, if your seal is already broken that's ok)
Other Notes:This shot should show what the original package seal looks like, this is important for collectors of sealed games to compare their seal to see if it's genuine. (if necessary this can be a close up shot too)
Shot: Overall Angle Shot
Example:
 When to use:
 If the game comes in a large box (anything larger than a standard case)
Notes: Make sure there is ample empty space all around the item... no edge of the item should be "cut off" by the edge of the photo
Shot: Front Cover Shot
Example:
 When to use:
 ALWAYS
Notes: Make sure there is a straight on shot as if the item was put through a scanner... also make sure there is NO GLARE from a flash or other light source
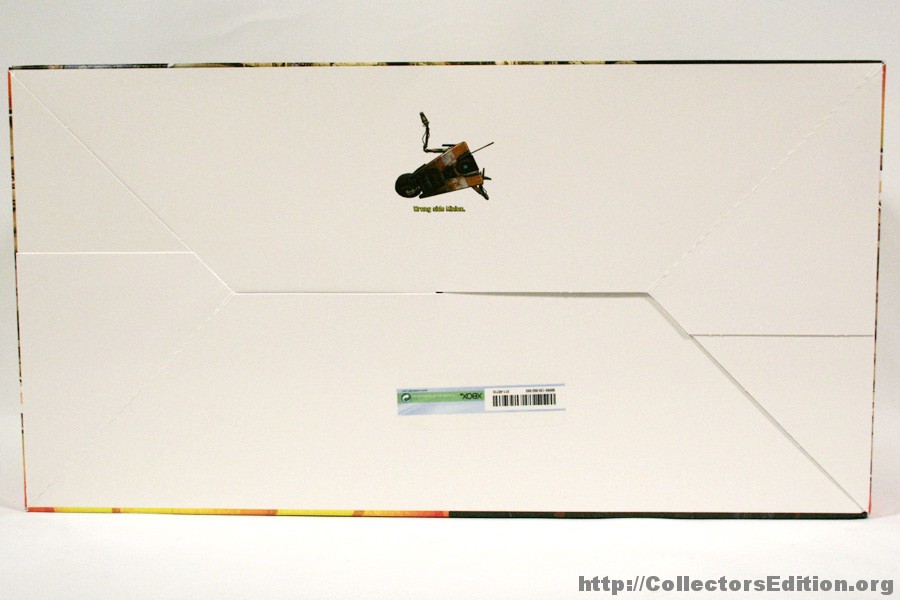
Shot: Back Cover Shot
Example:
 When to use:
 ALWAYS
Notes: Make sure there is a straight on shot as if the item was put through a scanner... also make sure there is NO GLARE from a flash or other light source.
Shot: Side,Top, or Bottom Shots
Example:
 When to use:
 If it's a big box release and there is something of interest on side of the package
Notes: Use your digression as to what shots are interesting and what is not
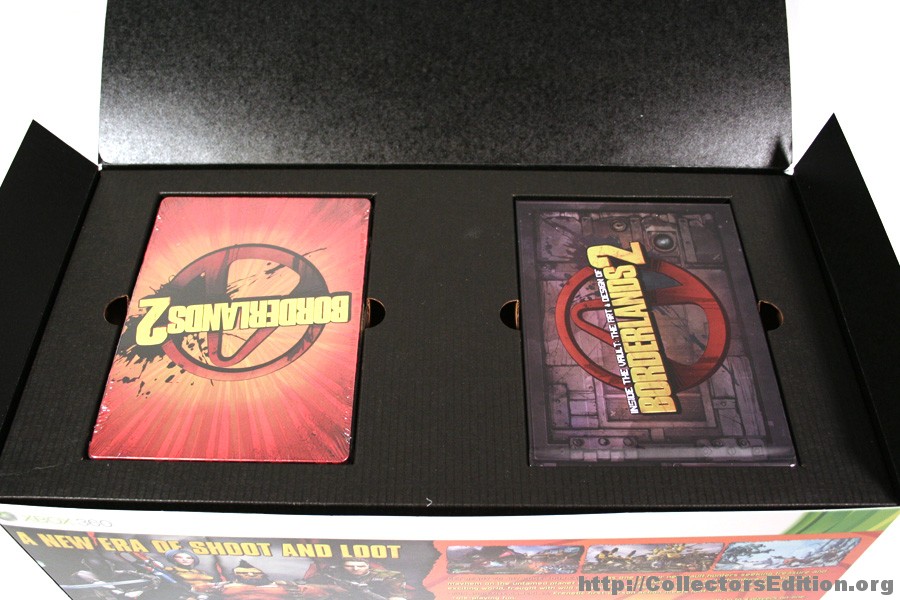
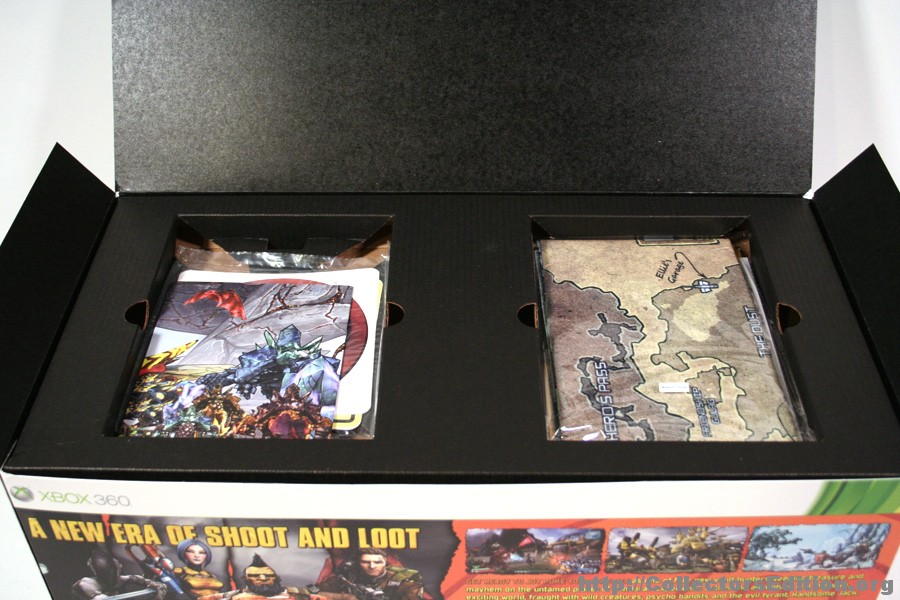
Shot: "Unboxing" Shots
Examples:
 When to use:
 ALWAYS (if you can, if you're leaving it sealed that's ok)
These shots should basically take you through the unboxing process layer by layer.
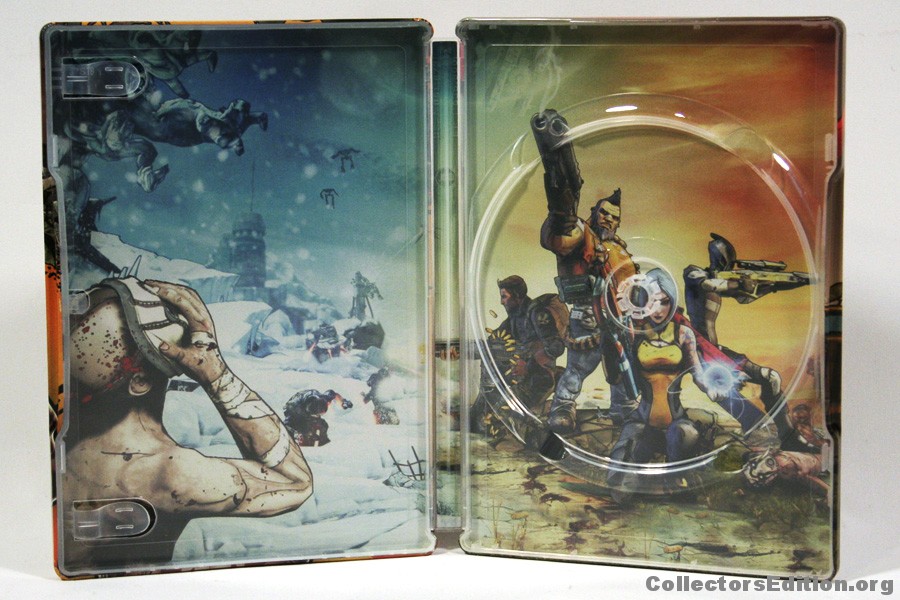
Shot: Interior/Exterior Naked Case Shots
Examples:

 When to use:
 I always do this with SteelBooks, or if the case has an image on the inside cover, or an image that spans across both the front and back of the case.
Shot: Individual Item Shots
Examples:
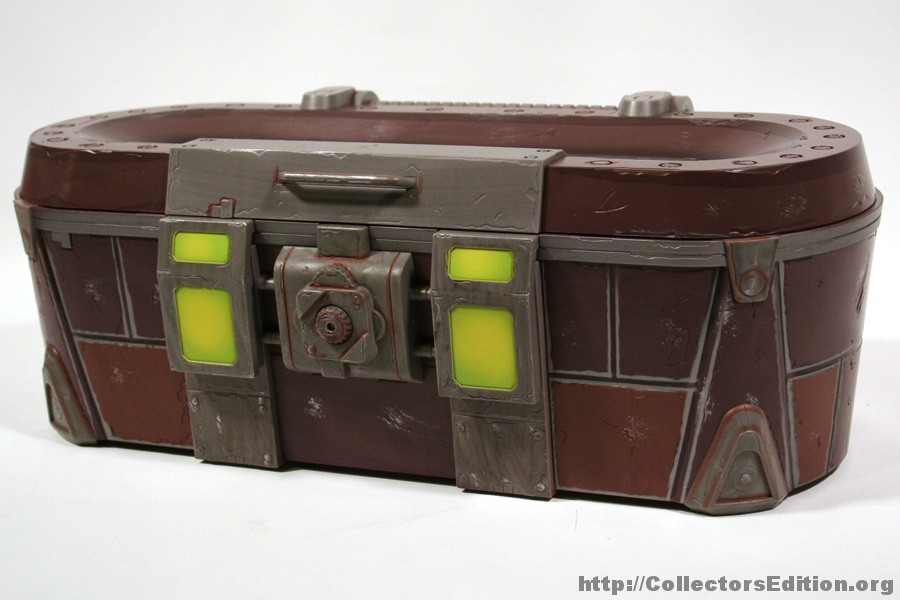
 When to use:
 If there is something that is included other than the package, the disc and the manual.
Notes: Be sure to take a single "overall" shot of each individual item. Items like figurines may require multiple "overall" shots from different angles. Remember this is an "individual" item shot, not a "group" shot... 1 item at a time. The only exception is if say the edition included a 5 stickers, then taking a picture of all 5 stickers together would be acceptable... If you're unsure, take it both ways... then you're guaranteed to have the right shot.
Shot: Detail Item Shots
Examples:
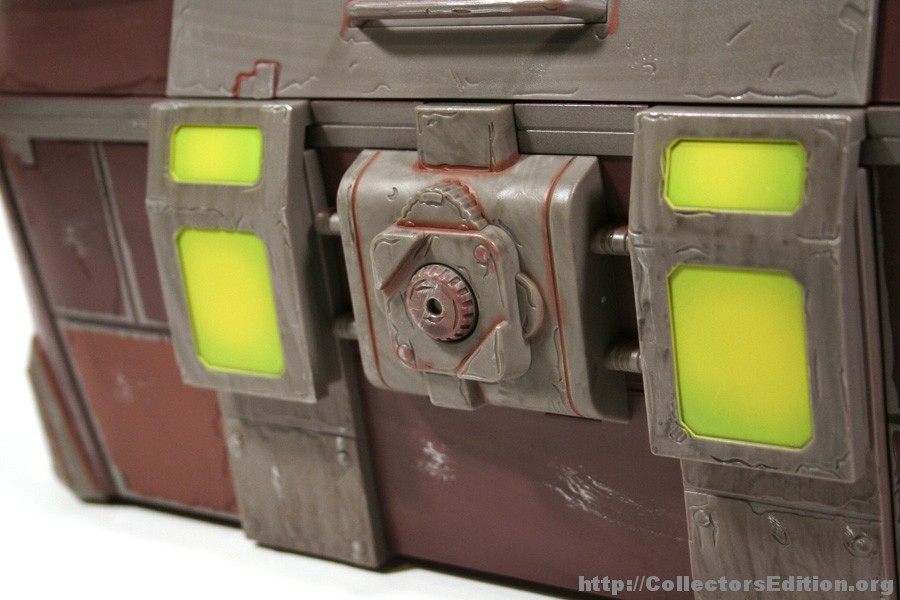
 When to use:
 If one of the included items has a high level of detail that warrants a close up view.
Notes: This is NOT a replacement for the "overall" shot of each individual item. use your digression, it's usually pretty rare that an item needs a detail shot.
Rules:
1. make sure 100% of the items in the photograph are in view, this means lot of extra empty space around the item for clean up. The only exception are the detail shot and (sometimes) the seal shot, listed above.
2. make sure the background is is plain, no patterns no other junk, not even other parts of the edition, take your photos on a plain boring background without anything in them other than what you're photographing
3. make sure the shots are CLEAN, not blurry, not grainy, no stupid instragram filters, and especially NO GLARE.
4. take at least 2 of every shot (if you're using a tripod), take 3 or 4 of every shot if you're holding the camera in your hands... this will let you pickout the highest quality version of every shot. if you take two shots you've just doubled your chances of getting a good pic.
