Collectors Edition Forums

Go Back   Collectors Edition Forums > The Bulletin Board > Additions and Corrections

Reply
 
Thread Tools Display Modes
  #1  
Old 03-25-2009, 04:10 PM
twistedsymphony's Avatar
twistedsymphony twistedsymphony is offline
Owner/Founder
 
twistedsymphony's Flag is: United States NH
Join Date: Jan 2008
Posts: 3,512
Default How to Properly Photograph CE Games for use on the site

Here is the process for taking pictures of games:

The Setup
  • use a tri-pod if you have one to ensure that the shot is steady, if you dont have a tri pod you can set your camera on top of a box or a stack of books, if you're still having trouble getting steady shots use your camera's built in timer so the shot is snapped when you're not even touching it.
  • disable the flash on your camera to reduce glare and washout, flashes mounted to the camera are garbage and do more harm than good, disable it and if you can't throw some duct-tape over it... trust me you don't want to use it.
  • if you have a light tent use that, if you don't have a light tent then create a "scene" using a bed sheet, large sheet of clean paper or other fabric as a back drop, clean white or gray is best. (I described my own cheap setup below)
  • light the scene from multiple locations, lights should be arranged such that the game is evenly lit with as little glare as possible, if you don't have a light tent or proper camera lights then just find a well light room. make sure the game is being lit from as high up as possible, hitting the front and the sides of the game (not from behind)... indirect lighting is the best.. meaning light reflected off of walls or through a filter... direct lighting causes glare. Lighting is the most important part of taking good photos.. If all else fails you can take photos outside on an overcast day (clear days have bad lighting)
  • make sure that there isn't any obvious reflections eg: the Master Chief helmet on the Halo 3 Legendary Edition was tricky to photograph without any reflections off the shield.

My current photography setup is very simple and was relatively cheap (~$40). I bought:
  • A roll of white, light-blocking, curtain fabric.
  • 2 cheap clamp lights
  • 2 "Reveal" Light Bulbs (these bulbs produce better color than normal bulbs)
I hung the fabric on the wall and draped the bottom over a table, then I clamped both lights on the ceiling pointing down at where the game will be. make sure they light the front and sides of the game box evenly.

Framing the Shot
  • Always take your photos in LANDSCAPE (wider than it is tall).
  • NEVER leave anything out of frame... I get lots of pictures with corners of boxes cut off, it's not good.
  • VERY IMPORTANT: leave plenty of empty space around what you're taking a picture of. Most images need to be rotated or cropped slightly and without empty space to work with it becomes impossible to do without cutting off parts of the image. If you're taking your pictures at a reasonably high resolution the white space can be cropped out easily without losing quality.

Shots you should take
  • Take more than one shot at each angle, it's easier to push the shutter two or three times and delete duplicates later than to have to go back and setup a shot again once you realize that one of them came out blurry.
  • Photos should be large enough to read the print.
  • Take a picture of the front of the case straight on.
  • Take a picture of the back of the case straight on (make sure you can read the case, and the bar-code number). THIS IS THE MOST IMPORTANT PHOTO
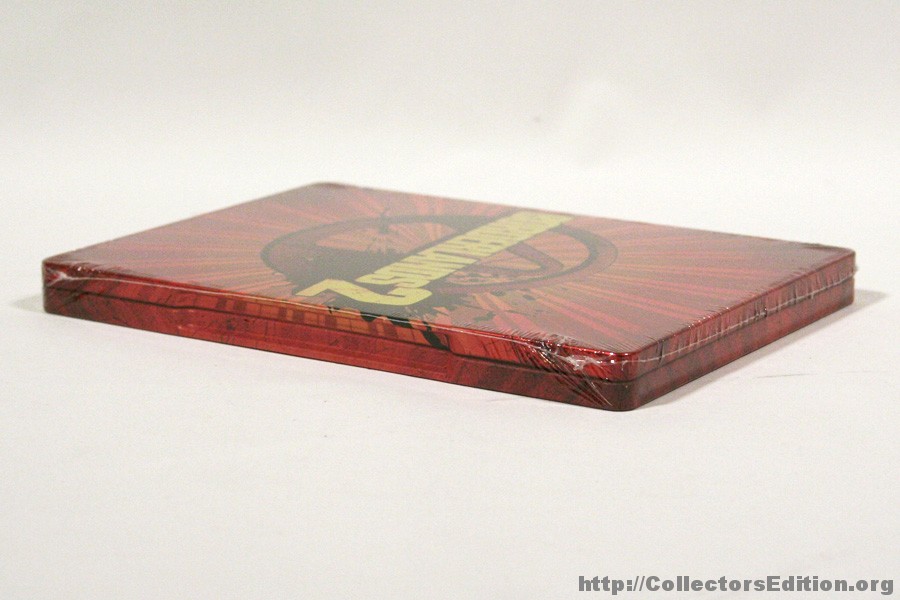
  • If the case is thicker or larger than a normal DVD case then take an angle shot of the front to show depth.
  • If the case is large enough to feature artwork on sides other than the front and back then take straight on photos of all sides that feature artwork.
  • If the case has a slip cover take a photo of the case in all appropriate angles with the cover on, then again in all appropriate angles with the cover off.
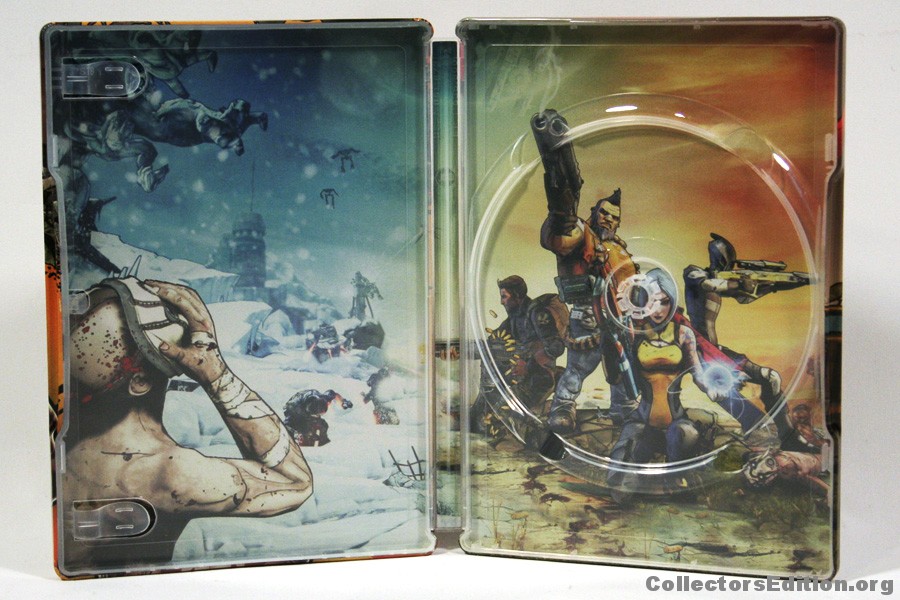
  • Take a picture of the inside of the case with the discs and paperwork as they were when the case was first opened, the only thing you should change is spinning the discs so they're positioned right side up.
  • If there is a flap with a 2nd disc take a picture of the flap in both positions so you can see the disc behind the flap
  • If there is more paperwork than just the manual then make sure you photograph all of it
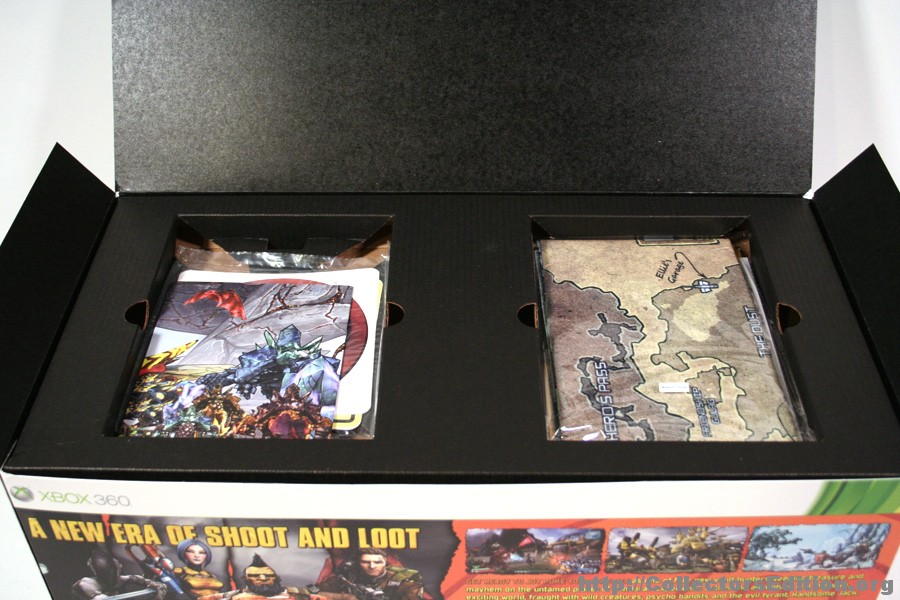
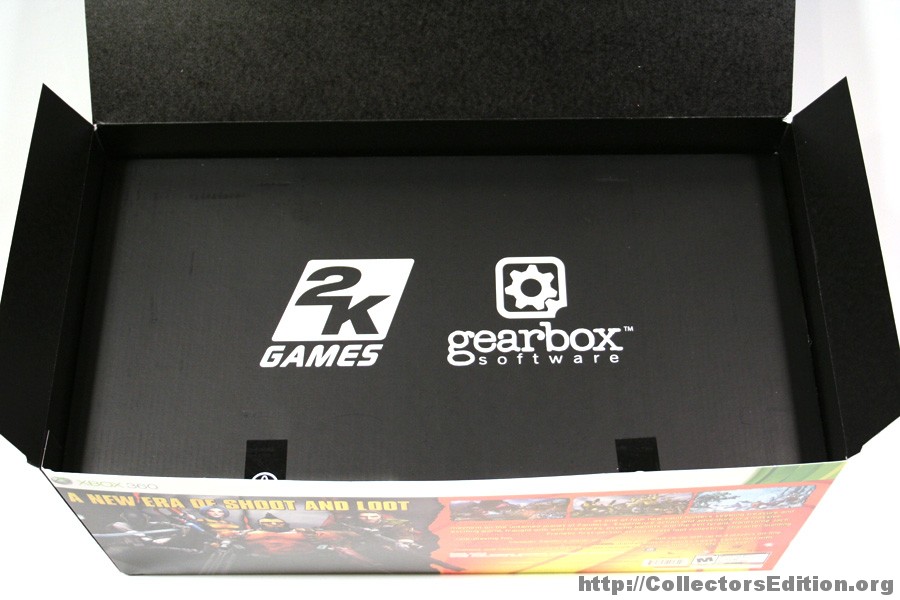
  • if the case folds out or comes in a box with multiple items then take photos of the unboxing process so people can see how the box opens and how things were arranged in the box.
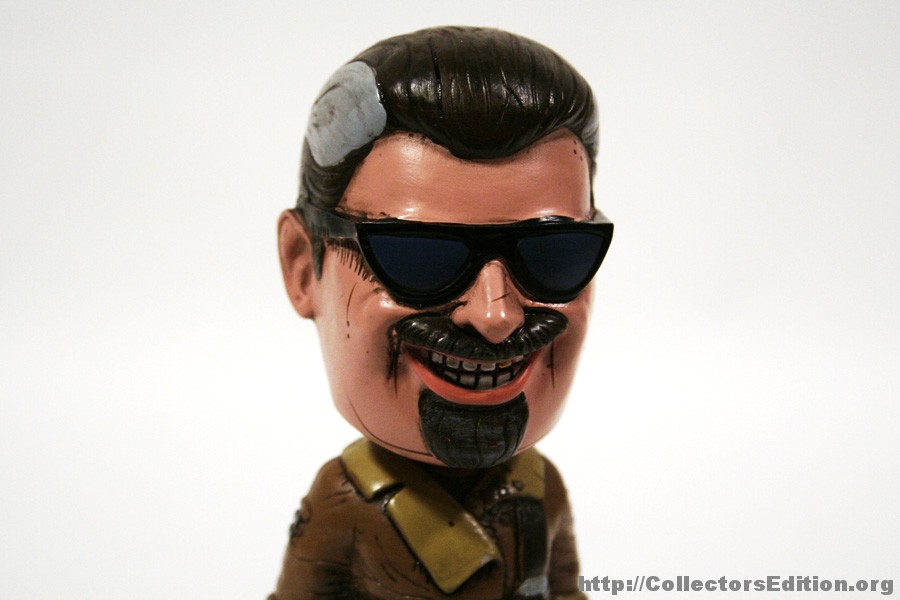
  • if the CE comes with trinkets, figurines or other bonus items take pictures of the items alone in their wrappers, if you don't mind taking them out of the wrappers then photograph them again alone outside of their wrappers
  • if the game came with any pre-order content then take appropriate photos of that too.

Some good examples of photographs you should imitate:
http://collectorsedition.org/game-db...-xbox-360-ntsc

Submitting Photos:
  • Please do not crop, re-size or color correct any of your photos, I have some programs setup to do that and if you give me the raw files from your camera
  • put the photos in a zip file
  • email* them to twistedsymphony (at) gmail (dot) com
  • make sure you include your forum user-name so I can give you credit

*some email accounts will not let you send files over 8MB, you can either create multiple zip files and sent multiple emails, or send me a PM and I will try to set you up with an FTP account where you can upload your files.

it might seem like a lot but it's pretty simple once you do it, I set these guidelines up for myself just so I could ensure that the information was standardized from game to game.

Photographs, especially well-shot photographs make a fantastic addition to our database and they're always greatly appreciated.
__________________


Last edited by twistedsymphony; 06-13-2011 at 03:57 PM.
Reply With Quote
  #2  
Old 08-06-2010, 01:34 PM
gurpswoo1's Avatar
gurpswoo1 gurpswoo1 is offline
DB Proprietor
 
gurpswoo1's Flag is: UK United Kingdom (UK)
Join Date: Jul 2010
Posts: 5,348
Default Re: How to Properly Photograph CE Games for use on the site

Hi Twistedsymphony

I've ordered a Tripod for my camera, so will be able to use it without the flash

One quick question, you haven't specified what the file size should be, is the a min and max Res or file size, do they need to be a particular format. e.g. JPG, PNG, BMP etc.

Are there any restrictions on aspect ratio etc.

Thanks.
Reply With Quote
  #3  
Old 08-06-2010, 04:05 PM
twistedsymphony's Avatar
twistedsymphony twistedsymphony is offline
Owner/Founder
 
twistedsymphony's Flag is: United States NH
Join Date: Jan 2008
Posts: 3,512
Default Re: How to Properly Photograph CE Games for use on the site

I personally take pictures in jpg format in a pretty hefty resolution... then I crop, color correct, downscale them to about 900px on the largest dimension, then add a watermark before uploading.

I'm fine with people sending me the files directly off of the camera un-modified, I'd prefer to do the post-processing cleanup myself. anyway.

though my PC died a few weeks ago and I had some problems reinstalling windows so right now I'm running Linux... because of that I've got no photoshop and have been unable to use my scripts for color correcting/watermarking that I use for the site. I've got a few games worth of pictures that I haven't uploaded because they're waiting to be processed.
__________________


Reply With Quote
  #4  
Old 11-12-2010, 02:03 AM
MrBubbles's Avatar
MrBubbles MrBubbles is offline
Member
 
MrBubbles's Flag is: Netherlands The Netherlands
Join Date: Oct 2010
Posts: 568
Default Re: How to Properly Photograph CE Games for use on the site

If u still need pictures please let me know. I can provide you with PAL CE Games.
Have to say that a lot of my games are still sealed, so can't give any pics of the content.
Reply With Quote
  #5  
Old 06-13-2011, 05:19 PM
twistedsymphony's Avatar
twistedsymphony twistedsymphony is offline
Owner/Founder
 
twistedsymphony's Flag is: United States NH
Join Date: Jan 2008
Posts: 3,512
Default Re: How to Properly Photograph CE Games for use on the site

I just updated the top post with some additional tips...

at some point I need to take some pictures of my new lighting setup ... it was very cheap and it's quite effective...
__________________


Reply With Quote
  #6  
Old 03-12-2013, 05:27 PM
aselwyn1's Avatar
aselwyn1 aselwyn1 is offline
Member
 
aselwyn1's Flag is: Canada Ottawa
Join Date: May 2012
Posts: 414
Default Re: How to Properly Photograph CE Games for use on the site

Is there a list of the pictures that you need?
__________________
Aselwyn1
Reply With Quote
  #7  
Old 03-12-2013, 11:18 PM
Xmo's Avatar
Xmo Xmo is offline
DB Proprietor
 
Xmo's Flag is: United States Carson, California
Join Date: Mar 2012
Posts: 1,552
Default Re: How to Properly Photograph CE Games for use on the site

I need a place to make a set up pronto
Reply With Quote
  #8  
Old 03-13-2013, 01:05 AM
twistedsymphony's Avatar
twistedsymphony twistedsymphony is offline
Owner/Founder
 
twistedsymphony's Flag is: United States NH
Join Date: Jan 2008
Posts: 3,512
Default Re: How to Properly Photograph CE Games for use on the site

Quote:
Originally Posted by aselwyn1 View Post
Is there a list of the pictures that you need?
Shot: Seal Shot
Example:


When to use: ALWAYS (if you can, if your seal is already broken that's ok)
Other Notes:This shot should show what the original package seal looks like, this is important for collectors of sealed games to compare their seal to see if it's genuine. (if necessary this can be a close up shot too)

Shot: Overall Angle Shot
Example:
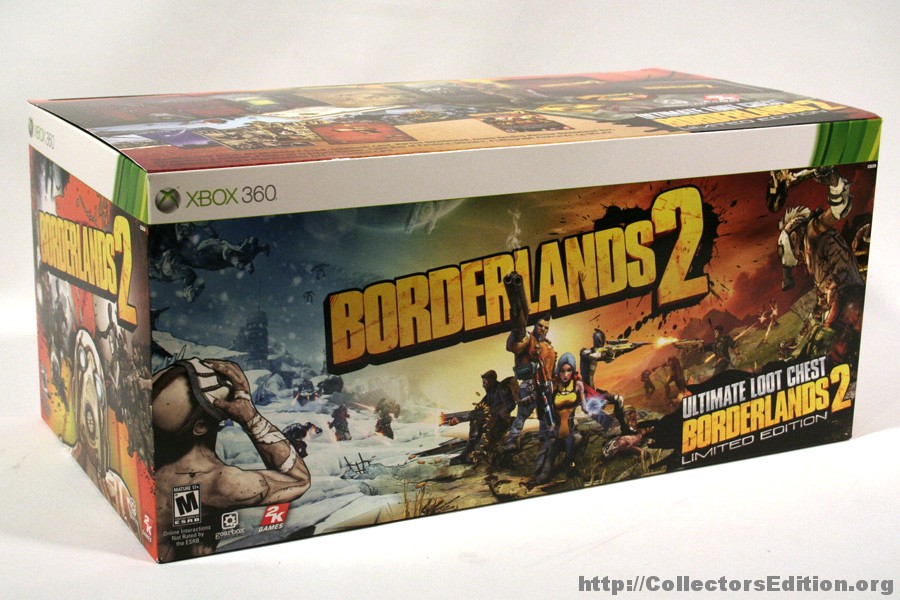

When to use: If the game comes in a large box (anything larger than a standard case)
Notes: Make sure there is ample empty space all around the item... no edge of the item should be "cut off" by the edge of the photo

Shot: Front Cover Shot
Example:
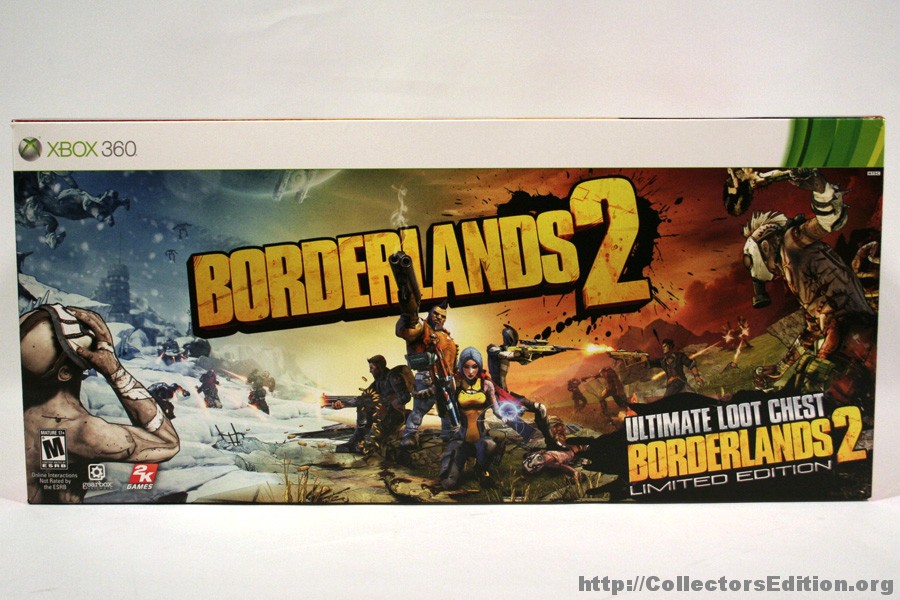

When to use: ALWAYS
Notes: Make sure there is a straight on shot as if the item was put through a scanner... also make sure there is NO GLARE from a flash or other light source

Shot: Back Cover Shot
Example:
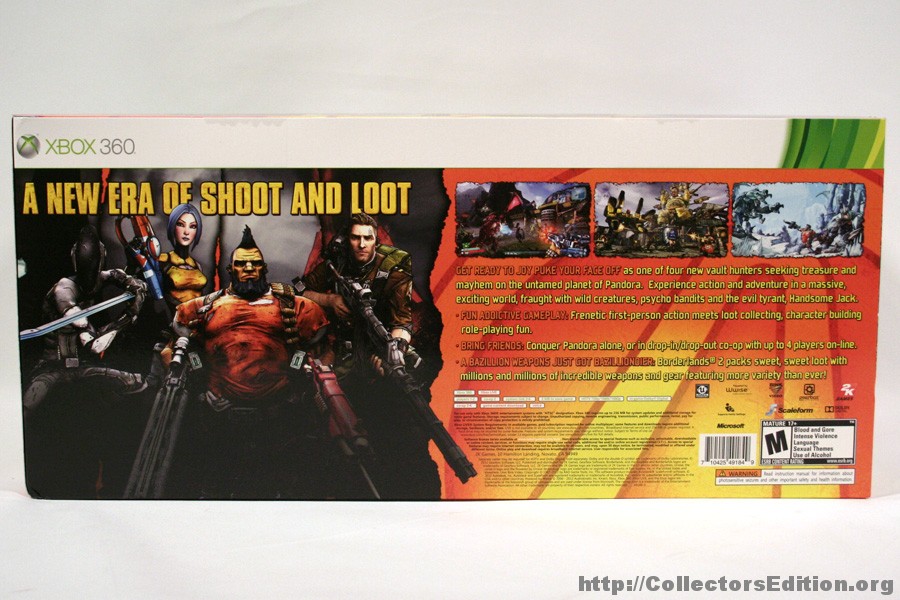

When to use: ALWAYS
Notes: Make sure there is a straight on shot as if the item was put through a scanner... also make sure there is NO GLARE from a flash or other light source.

Shot: Side,Top, or Bottom Shots
Example:
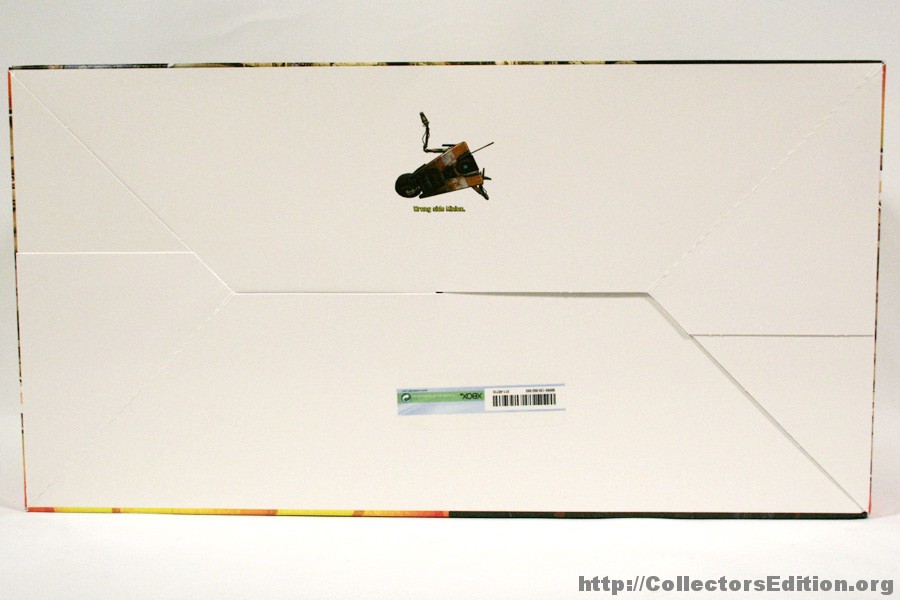

When to use: If it's a big box release and there is something of interest on side of the package
Notes: Use your digression as to what shots are interesting and what is not

Shot: "Unboxing" Shots
Examples:
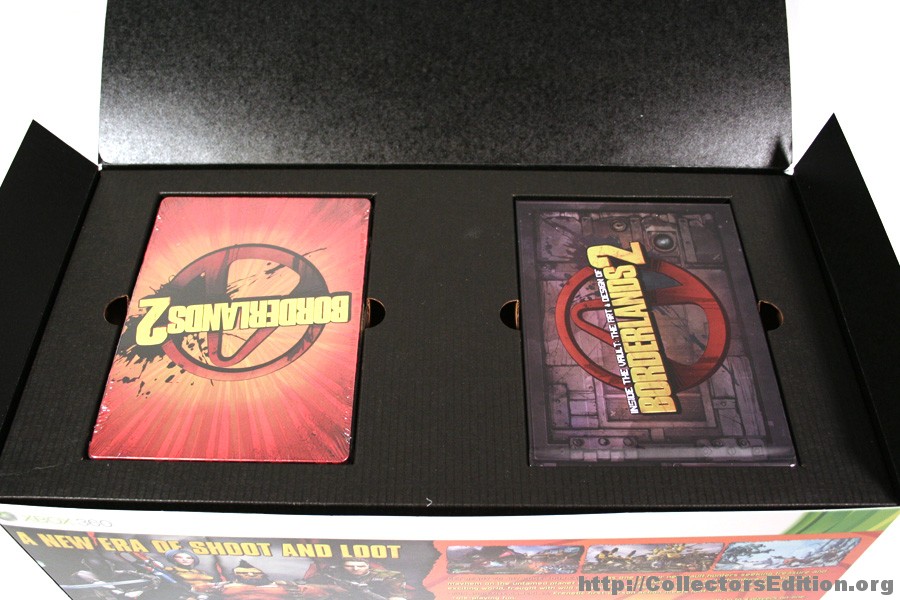


When to use: ALWAYS (if you can, if you're leaving it sealed that's ok)
These shots should basically take you through the unboxing process layer by layer.

Shot: Interior/Exterior Naked Case Shots
Examples:
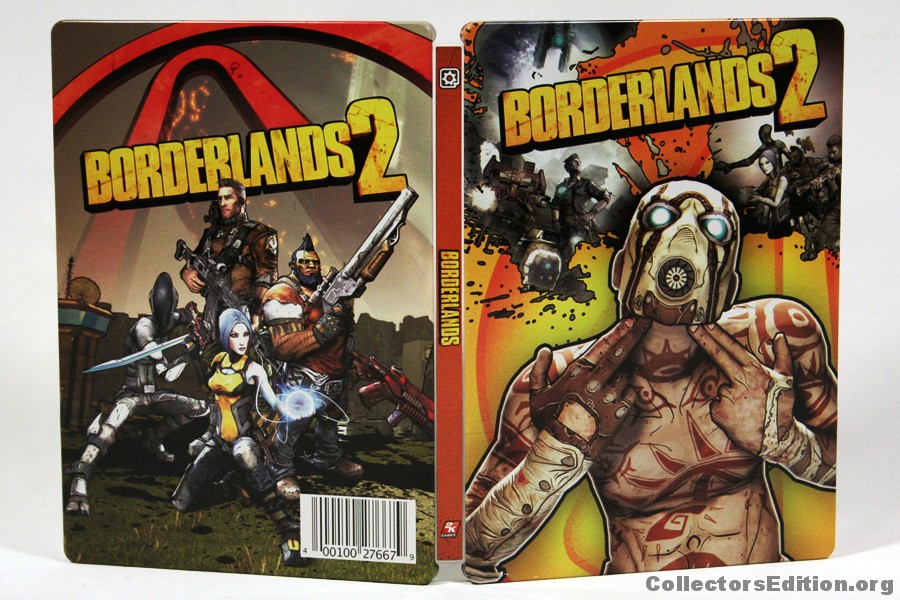


When to use: I always do this with SteelBooks, or if the case has an image on the inside cover, or an image that spans across both the front and back of the case.


Shot: Individual Item Shots
Examples:
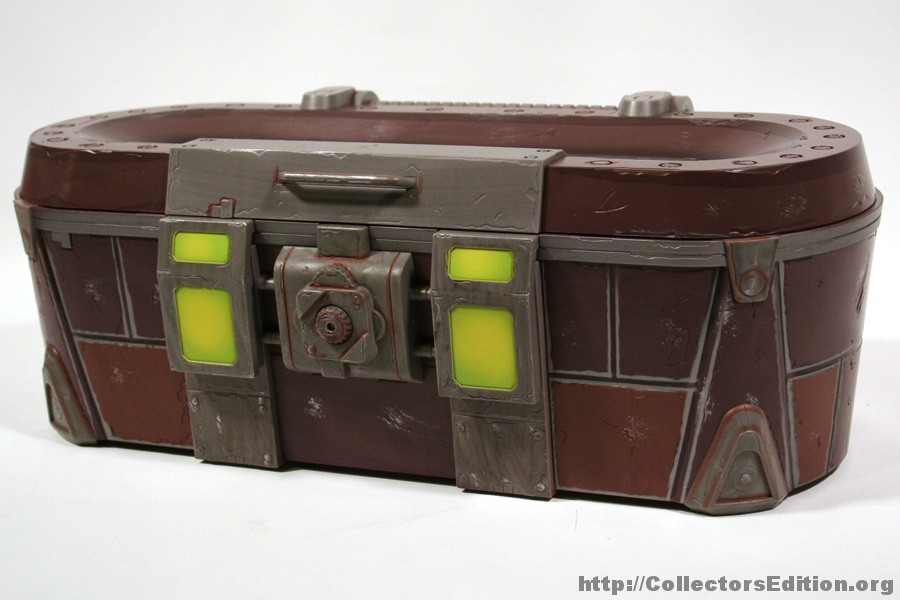


When to use: If there is something that is included other than the package, the disc and the manual.
Notes: Be sure to take a single "overall" shot of each individual item. Items like figurines may require multiple "overall" shots from different angles. Remember this is an "individual" item shot, not a "group" shot... 1 item at a time. The only exception is if say the edition included a 5 stickers, then taking a picture of all 5 stickers together would be acceptable... If you're unsure, take it both ways... then you're guaranteed to have the right shot.

Shot: Detail Item Shots
Examples:
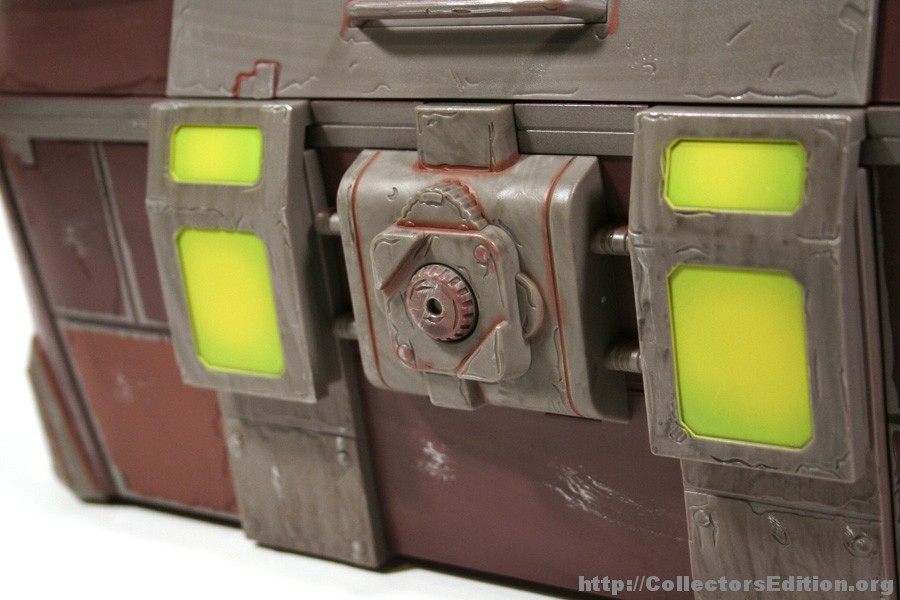


When to use: If one of the included items has a high level of detail that warrants a close up view.
Notes: This is NOT a replacement for the "overall" shot of each individual item. use your digression, it's usually pretty rare that an item needs a detail shot.

Rules:
1. make sure 100% of the items in the photograph are in view, this means lot of extra empty space around the item for clean up. The only exception are the detail shot and (sometimes) the seal shot, listed above.

2. make sure the background is is plain, no patterns no other junk, not even other parts of the edition, take your photos on a plain boring background without anything in them other than what you're photographing

3. make sure the shots are CLEAN, not blurry, not grainy, no stupid instragram filters, and especially NO GLARE.

4. take at least 2 of every shot (if you're using a tripod), take 3 or 4 of every shot if you're holding the camera in your hands... this will let you pickout the highest quality version of every shot. if you take two shots you've just doubled your chances of getting a good pic.
__________________


Last edited by twistedsymphony; 03-13-2013 at 01:09 AM.
Reply With Quote
  #9  
Old 03-13-2013, 01:56 AM
Letrico's Avatar
Letrico Letrico is offline
DB Proprietor
 
Letrico's Flag is: Australia Melbourne
Join Date: Dec 2011
Posts: 2,670
Default Re: How to Properly Photograph CE Games for use on the site

Do you have a photoshoot area twisted? It looks like you have your own studio with lightings from left and right to produce the shadow effect.
__________________

Reply With Quote
  #10  
Old 03-13-2013, 05:36 PM
Lemur Lemur is offline
Senior Member
 
Lemur's Flag is: Singapore
Join Date: Aug 2011
Posts: 1,775
Default Re: How to Properly Photograph CE Games for use on the site

I bet he has a studio to take pics of CEs and other "models"
Reply With Quote
Reply

Bookmarks


Posting Rules
You may not post new threads
You may not post replies
You may not post attachments
You may not edit your posts

BB code is On
Smilies are On
[IMG] code is On
HTML code is Off


All times are GMT +1. The time now is 01:13 AM.


Powered by vBulletin®
Copyright ©2000 - 2024, Jelsoft Enterprises Ltd.
©2008 - 2021 SolidArc Innovations LLC